Transform Your Kitchen: Discover the Magic of Flush Mount LED Ceiling Lights!
In the realm of modern kitchen design, lighting plays a pivotal role in both functionality and ambiance. Enter flush mount LED ceiling lights, a popular choice that combines style and efficiency. These fixtures sit snugly against the ceiling, providing a sleek look while illuminating your workspace with bright, energy-efficient light. Whether you're preparing a family meal or hosting friends for dinner, the right lighting can create an inviting atmosphere that enhances your culinary experience. In this article, we will explore the benefits of flush mount LED ceiling lights, delve into the design options available to suit any kitchen style, and provide essential installation tips to help you brighten up your kitchen effectively.
The Benefits of Flush Mount LED Ceiling Lights
When it comes to energy efficiency, LED lights clearly outshine their traditional counterparts. Using significantly less electricity than incandescent or fluorescent bulbs, LED lights not only reduce your energy bills but also have a longer lifespan—often lasting up to 25,000 hours or more. This longevity means less frequent replacements, translating to lower maintenance costs over time. Friends of mine who recently renovated their kitchens switched to LED lighting and were pleasantly surprised by how much they saved on their utility bills each month. Moreover, flush mount LED ceiling lights provide bright, uniform lighting that is ideal for various kitchen tasks, from chopping vegetables to reading recipes. The improved visibility can make cooking safer and more enjoyable, while their sleek design ensures they seamlessly blend with your kitchen decor.
Design Options for Every Kitchen Style
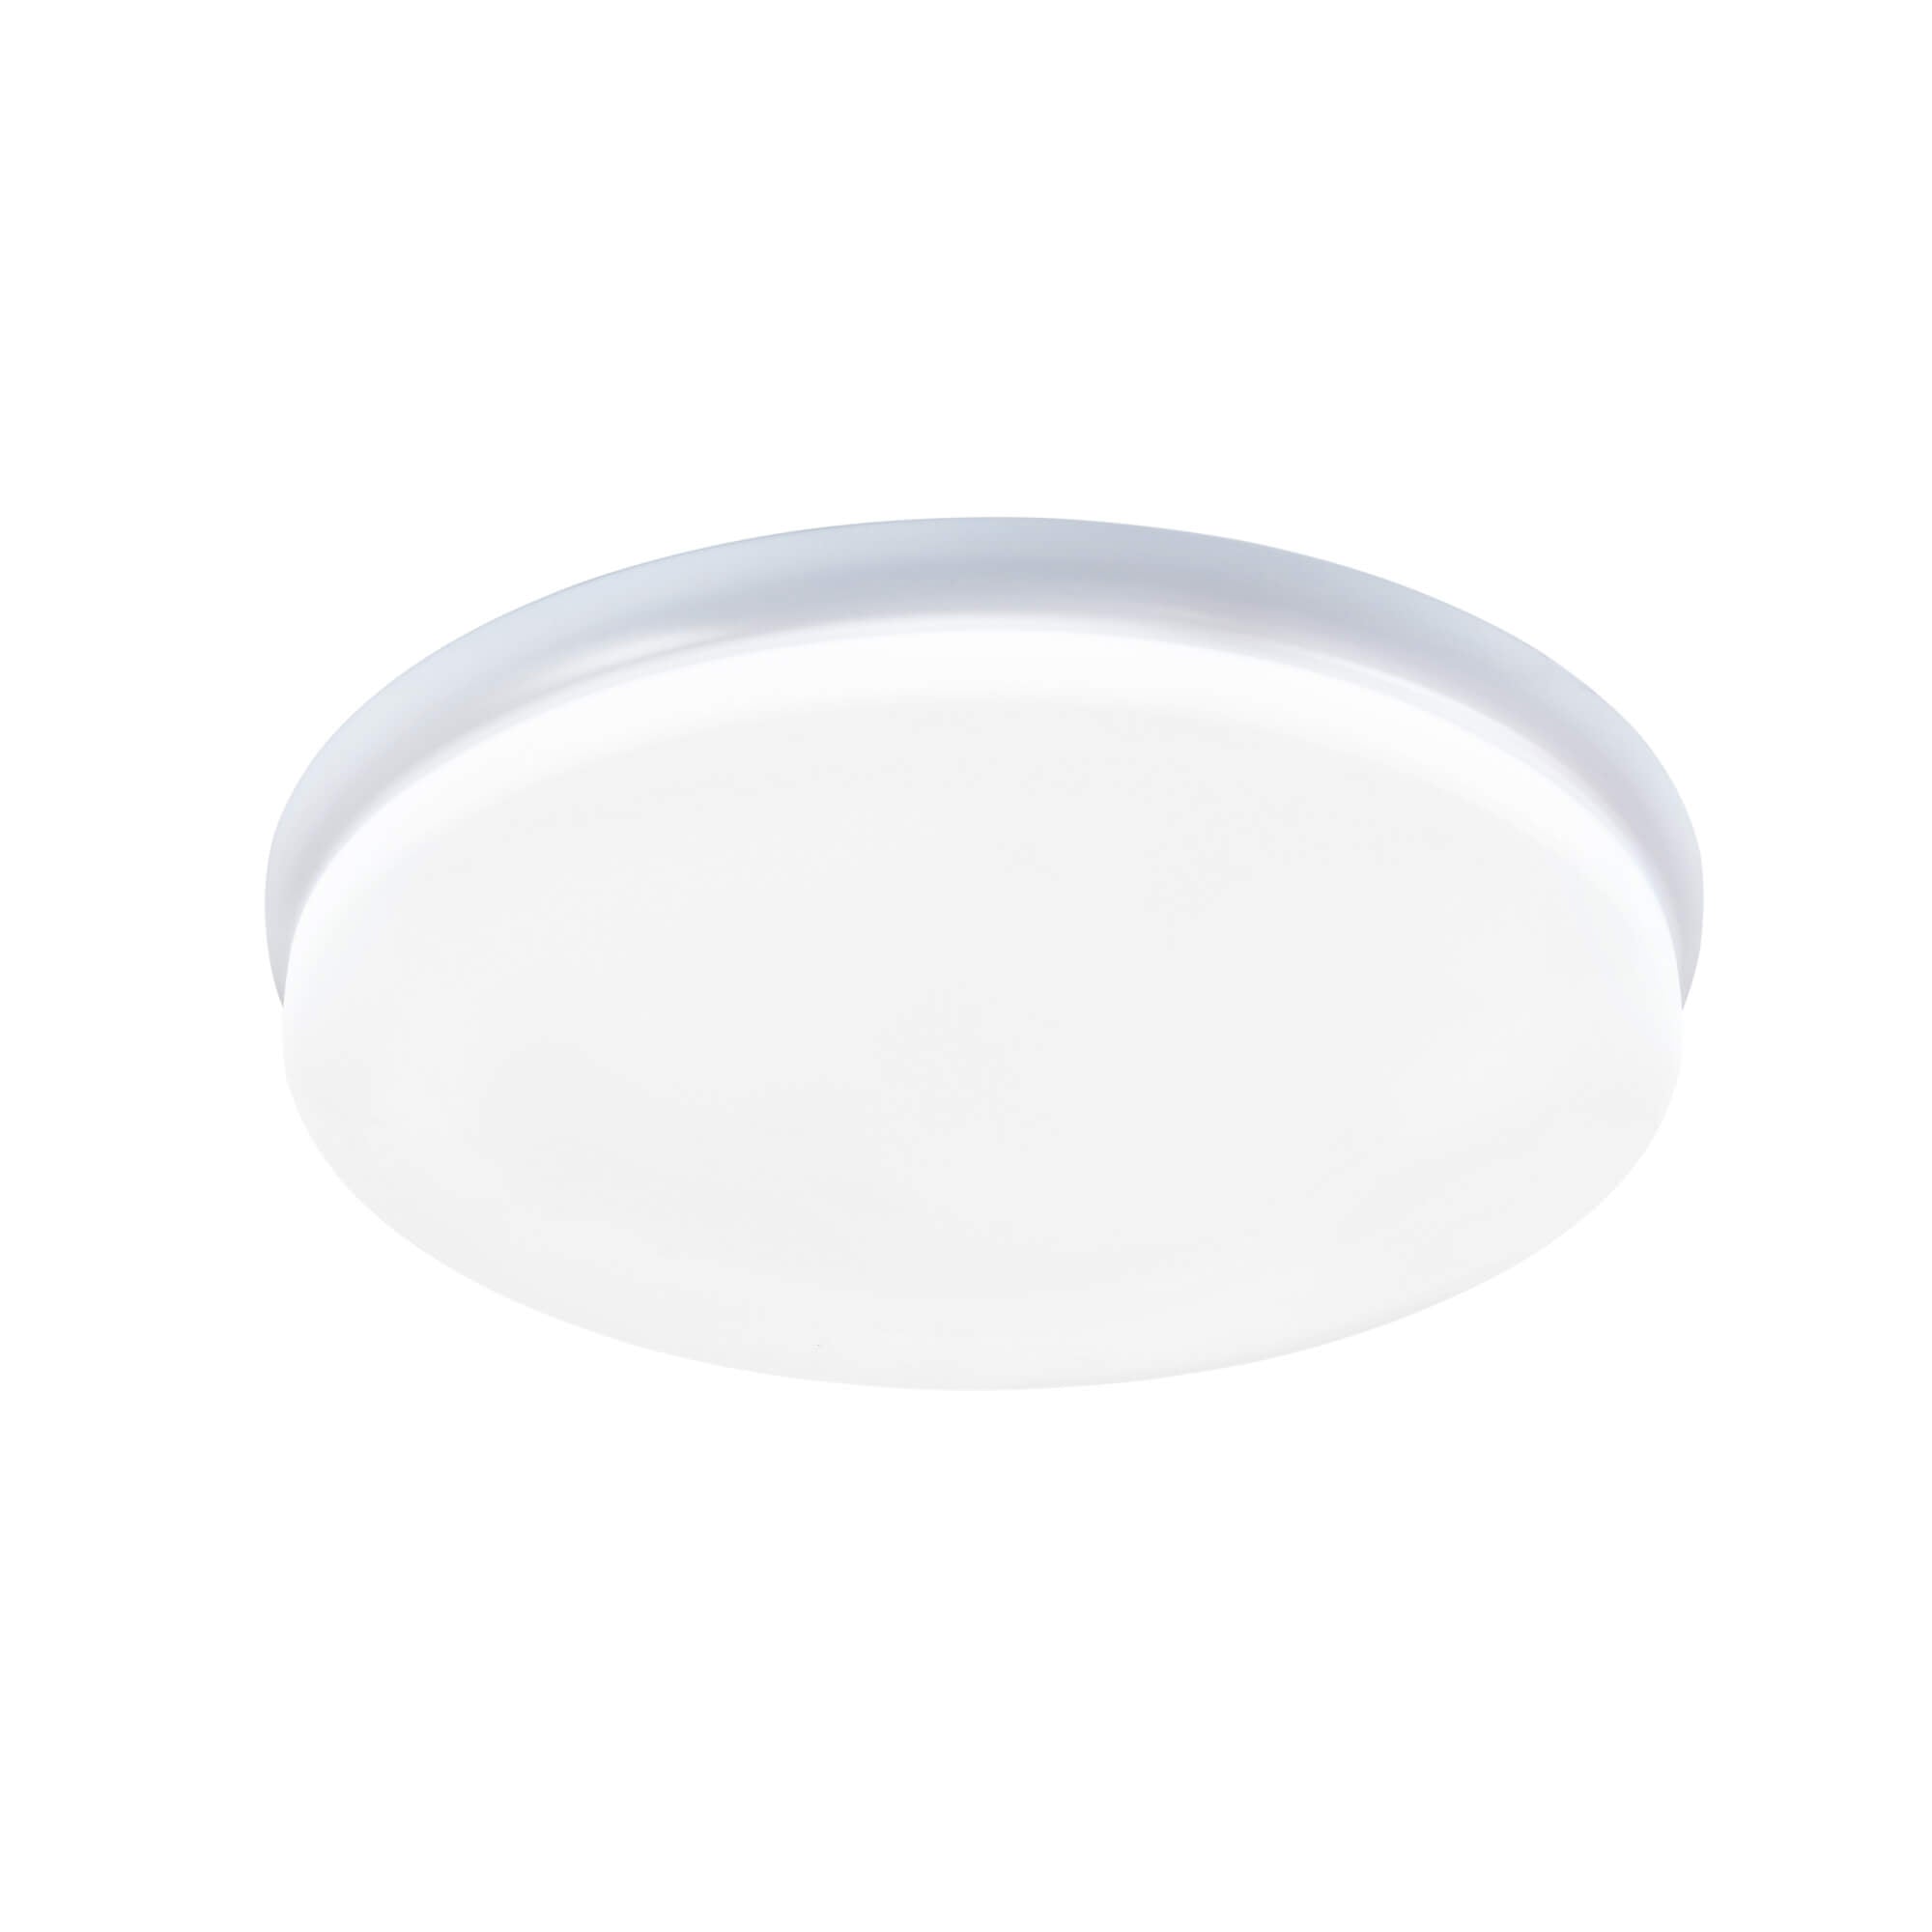
Flush mount LED ceiling lights come in a myriad of designs, making it easy to find a fixture that complements your kitchen’s aesthetic. For modern kitchens, look for minimalist designs with clean lines and metallic finishes. Rustic styles, on the other hand, might feature wood accents or vintage-inspired elements, adding warmth and character to the space. Traditional kitchens can benefit from more ornate designs with intricate details, while contemporary spaces may favor geometric shapes and bold colors. When considering size, think about the dimensions of your kitchen—large fixtures can serve as a focal point in spacious areas, while smaller options can provide subtle illumination in cozier settings. The key is to balance style and functionality, ensuring that your lighting choice enhances your kitchen’s overall decor while providing the necessary illumination.
Installation Tips for Flush Mount LED Ceiling Lights
Installing flush mount LED ceiling lights can be a straightforward process, especially if you're handy with tools. Start by gathering the necessary equipment, including a screwdriver, wire stripper, and a voltage tester. Before beginning, ensure that the power to the existing light fixture is turned off at the circuit breaker to prevent any electrical mishaps. Once you've removed the old fixture, use the voltage tester to double-check that the wires are not live. Next, connect the wires from the new fixture to the corresponding wires in the ceiling (usually black to black and white to white), securing them with wire nuts. After securely attaching the fixture to the ceiling, turn the power back on and test the light. If you're unsure about any step or do not feel comfortable working with electrical components, it’s advisable to consult a professional electrician to ensure safe installation.
Maintaining Your Flush Mount LED Ceiling Lights
Maintaining flush mount LED ceiling lights is relatively simple and requires minimal effort. Regular cleaning is key to ensuring optimal performance; use a soft, damp cloth to wipe away dust and grime, and avoid abrasive materials that could scratch the surface. If you notice flickering or dimming, it may indicate a loose connection or an issue with the fixture itself. In such cases, double-check all connections and ensure that the bulbs are securely installed. By following these maintenance tips, you can extend the life of your flush mount LED ceiling lights and keep your kitchen illuminated beautifully.
Enhancing Your Kitchen with Flush Mount LED Ceiling Lights
In summary, flush mount LED ceiling lights offer numerous benefits, from energy efficiency to versatility in design, making them an excellent choice for any kitchen. With various styles to choose from, you can easily find a fixture that complements your kitchen decor while providing adequate lighting for all your culinary tasks. Additionally, with proper installation and maintenance, these lights can serve you well for many years. If you're looking to enhance your kitchen environment, consider integrating flush mount LED ceiling lights into your space to create a functional and stylish atmosphere that you'll love.